
Hey there, if you’re like me, nothing beats starting the day with a steaming hot cup of coffee that stays warm for hours. But let’s face it—air pump pots can be tricky little beasts if you don’t handle them right. I’ve spilled more than my share of lukewarm brews before figuring this out. In this guide, we’ll dive into how to use an air pump pot correctly, focusing on getting that maximum insulation everyone craves. Whether you’re prepping for a family gathering or just keeping your tea hot at the office, these tips come from years of tinkering with these gadgets. Stick around, and you’ll avoid those frustrating moments when your drink goes cold too soon.
Understanding Your Air Pump Pot
First things first, let’s get clear on what we’re dealing with. An air pump pot isn’t just any old thermos—it’s designed to keep liquids hot (or cold) by creating a vacuum seal through pumping air out.
What is an Air Pump Pot?
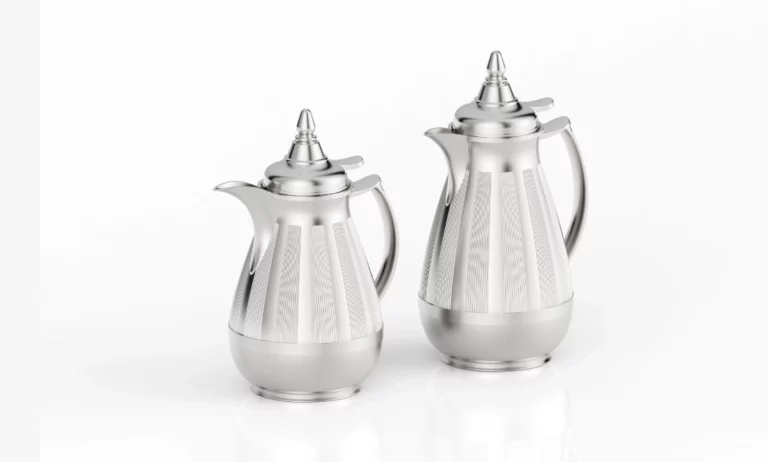
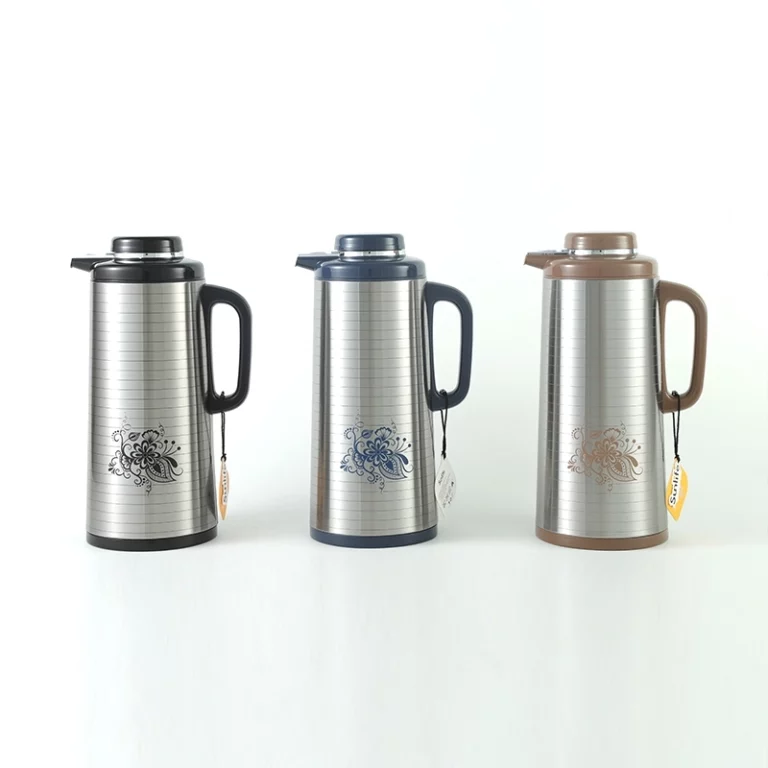
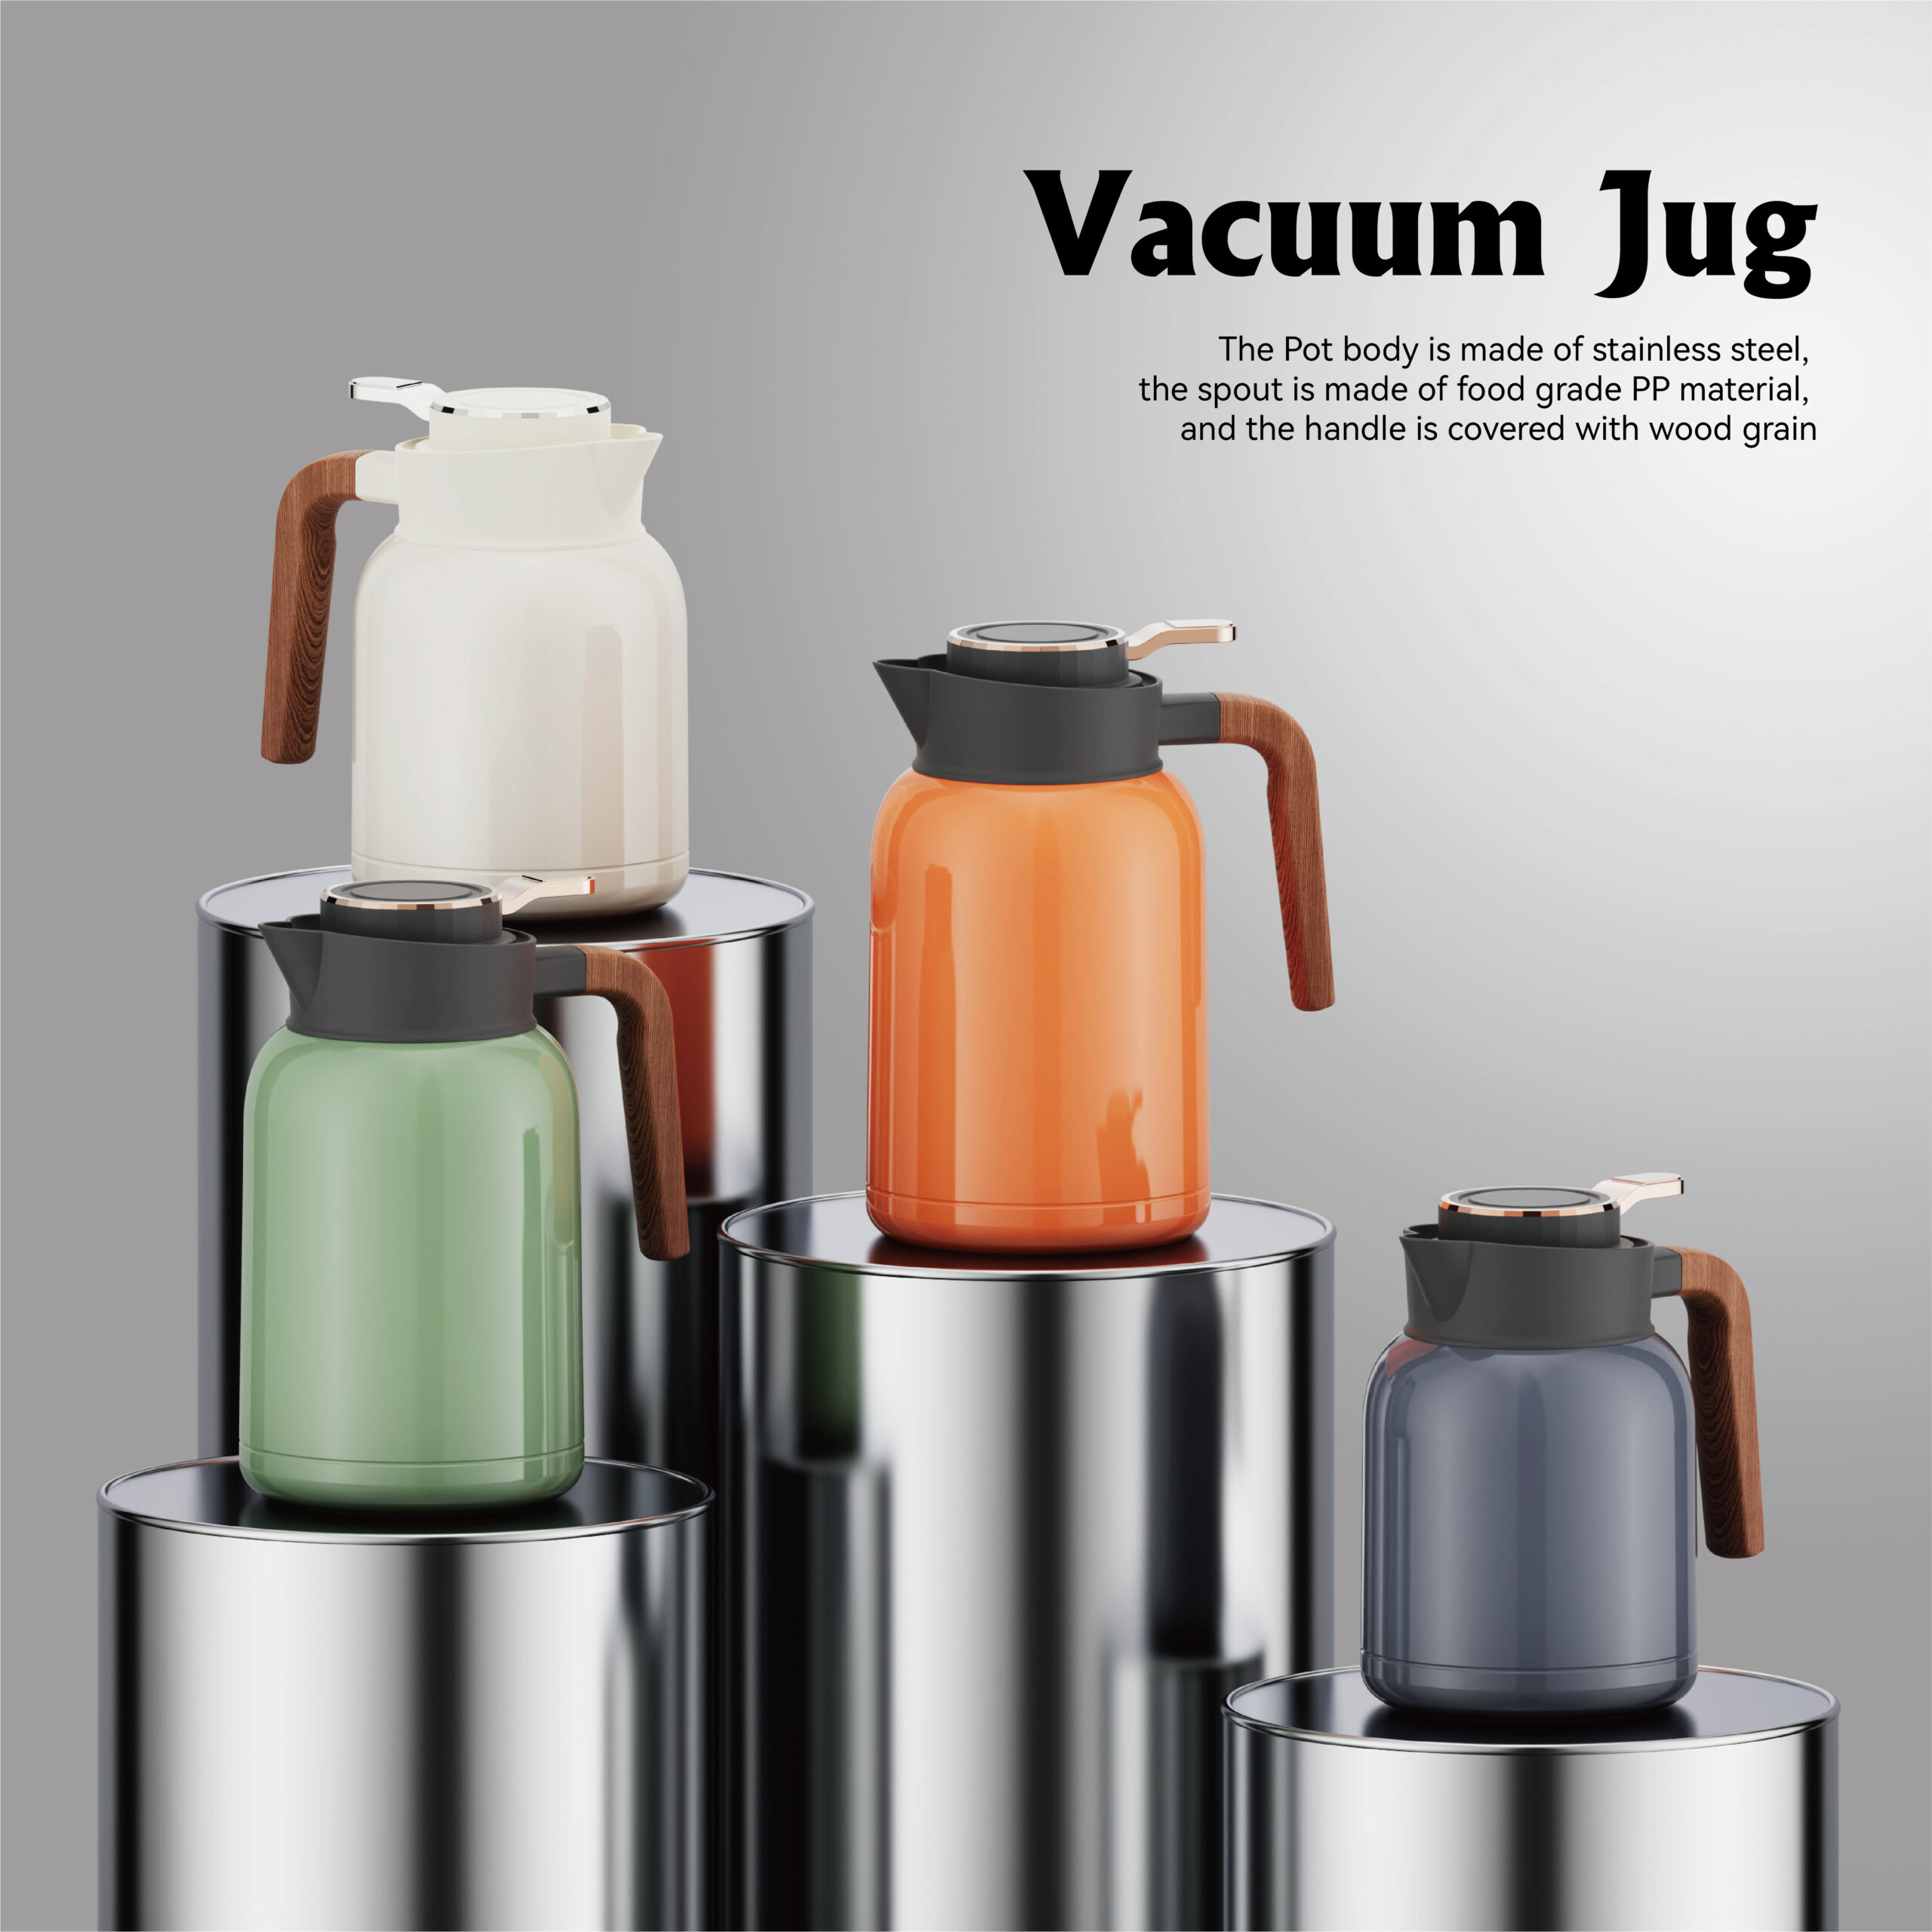
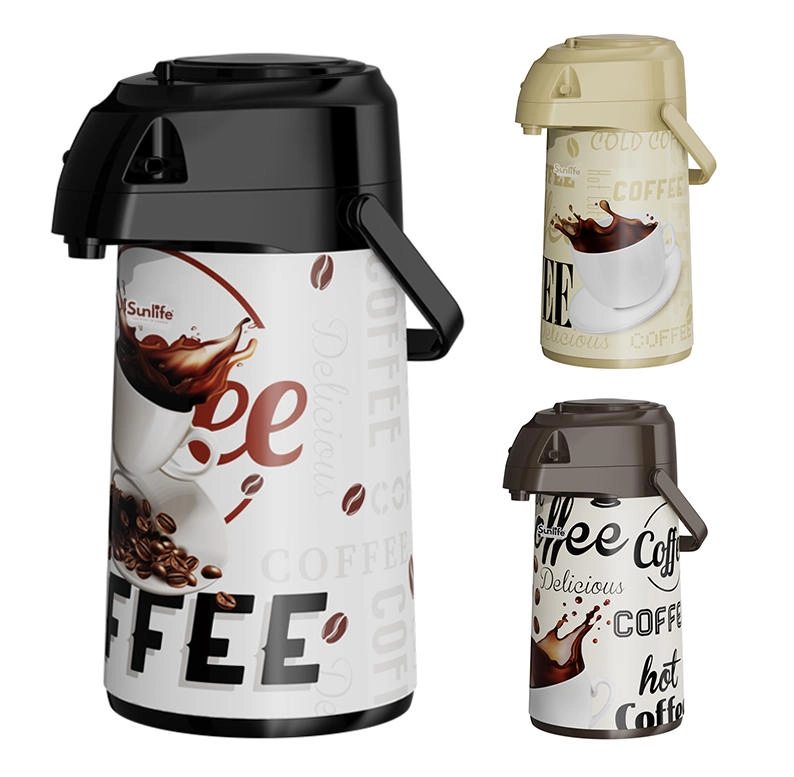
Picture this: a sturdy container, often with a stainless steel body and a glass or plastic liner, that uses a manual pump to push out air and lock in temperature. These pots, sometimes called vacuum flasks or air pots, have been around for decades. I remember my grandma using one for her endless pots of herbal tea back in the day. The basic idea? The pump removes air, reducing heat transfer and keeping your beverage insulated for up to 24-36 hours, depending on the model. From what I’ve seen in factories like those in Yiwu, China—the small commodities capital—these are built tough, with capacities ranging from 2.5L to 5.0L. Brands like Sunlife make them with a glass liner inside for extra durability.
Key Features for Insulation
The magic happens in the details. Look for a white glass refill inside—that’s food-grade material that holds heat like a champ. The outer body? Often stainless steel to prevent dents during daily use. And don’t forget the pump mechanism; a good one should feel smooth, not sticky. Insulation-wise, these pots can maintain hot drinks above 60°C for over 12 hours if used right. But hey, not all pots are created equal—cheaper ones might leak air faster, so splurge a bit if you can.
Preparing Your Air Pump Pot for Use
Okay, before you pour anything in, prep is key. Skip this, and you’re setting yourself up for disappointment.
Start by rinsing the pot with hot water. Why hot? It preheats the interior, so your drink doesn’t lose heat right away. Pour in boiling water, let it sit for 5 minutes, then dump it out. This simple step can boost insulation by 20-30%, based on what I’ve tested at home. If it’s a new pot, check for any factory residue—give it a good wash with mild soap. Dry it thoroughly; moisture inside can mess with the vacuum.
Speaking of which, inspect the seals. The lid gasket should be snug, no cracks. If it’s worn, replace it—most suppliers offer spares. I once ignored a tiny tear and ended up with coffee that cooled in half the time. Lesson learned.
Filling and Sealing the Pot
Now, the fun part: filling up. But do it smart.
- Boil your water or brew your drink fresh. Aim for temperatures around 95°C for coffee or tea—hotter than that, and you risk scalding yourself when dispensing.
- Fill to about 90% capacity. Leave some headspace for the vacuum to form. Overfilling? Air can’t escape properly, killing insulation.
- Screw on the lid tight, but not like you’re wrestling a bear. Just firm enough to seal.
Once filled, pump immediately. Most pots need 10-15 pumps to create that vacuum. You’ll feel resistance when it’s done—stop there to avoid straining the mechanism. Pro tip: If you’re using it for cold drinks, chill the pot first with ice water. Same logic, flipped.
Pumping and Dispensing
Pumping is straightforward, but technique matters for maximum insulation.
Press the pump button down fully, then release. Repeat until it’s hard to push—that’s your cue. Dispensing? Tilt the spout and press gently. Avoid pumping excessively between pours; each pump lets in a bit of air, which chips away at the vacuum.
In a busy kitchen, like during a brunch rush, I’ve found that limiting openings to once every hour keeps things hotter longer. And if you’re outdoors? Wrap the pot in a towel for extra protection against wind—sounds old-school, but it works.
Tips for Maximum Insulation
Want to squeeze every last degree out of your pot? Here are some battle-tested tips. I’ve compiled them into a quick table for easy reference.
| Tip | Why It Works | Real-Life Example |
| Preheat with hot water | Matches the drink’s temp, minimizing initial heat loss | Before a long drive, I preheat and my coffee stays piping hot for 8 hours straight. |
| Avoid frequent opening | Prevents air influx that breaks the vacuum | At office meetings, one big pour into a mug beats multiple small ones. |
| Store in a stable spot | Reduces vibrations that could loosen seals | Keep it on a counter, not in a bumpy car—I’ve lost insulation that way on road trips. |
| Use hot water bags if needed | Adds external warmth for ultra-long holds | For overnight camping, this extends heat to 36 hours. |
| Clean after each use | Removes residues that affect seals over time | A quick rinse prevents buildup; I do it daily. |
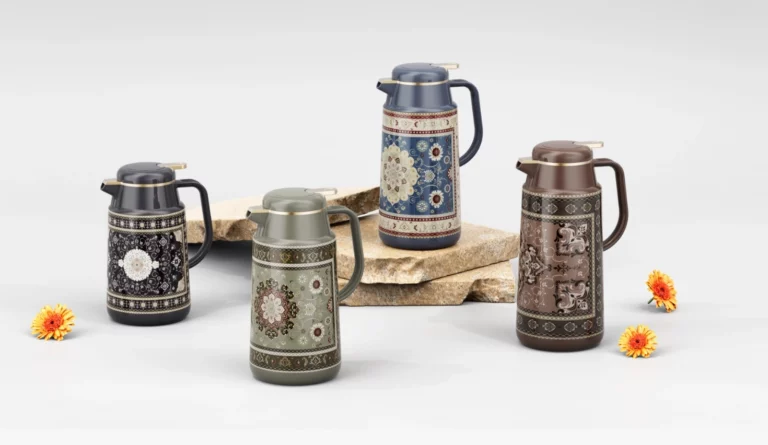
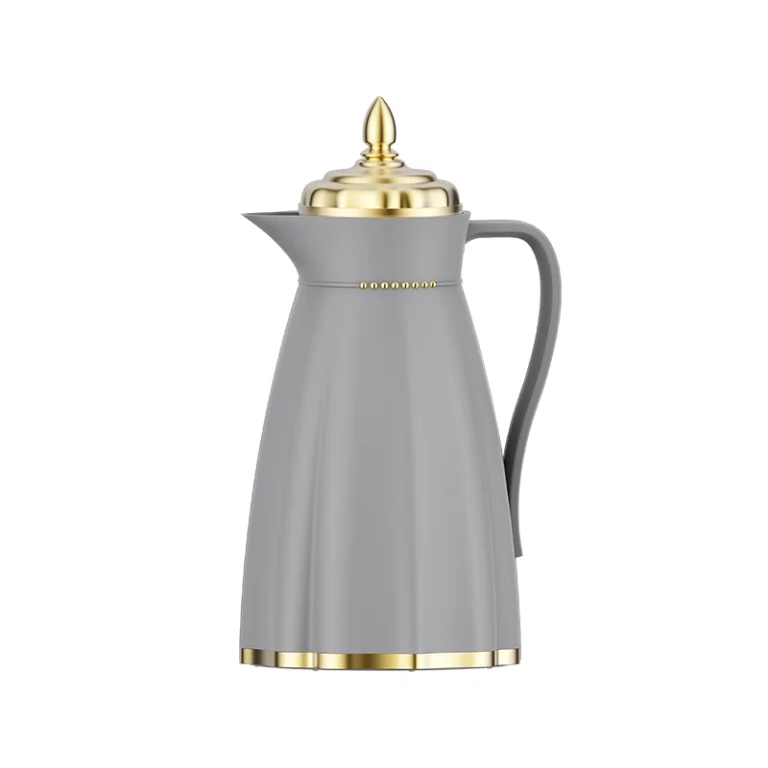
Beyond the table, experiment with capacities. A 3.0L pot like the Sunlife 3305C holds heat better when full—physics, right? Half-empty ones cool faster due to more air space. Oh, and if you’re into customization, some pots let you tweak colors or materials for better grip, but that’s more about style than function.
Cleaning and Maintenance
No one likes a funky-smelling pot. Clean it right to keep insulation top-notch.
After use, empty it pronto. Rinse with warm water and a soft brush—avoid abrasives that scratch the liner. For stubborn stains, baking soda and vinegar do the trick; let it fizz for 10 minutes. Dry upside down to prevent mold.
Maintenance? Check the pump monthly. If it sticks, a drop of food-grade oil helps. Store with the lid off to air out. I’ve had pots last 5+ years with this routine, while neglected ones die in months.
Common Mistakes to Avoid
We all mess up sometimes. Here’s what not to do:
- Filling with room-temp liquids. Always start hot (or cold).
- Over-pumping. It wears out the mechanism without extra benefits.
- Ignoring leaks. A hissing sound? Fix the seal ASAP.
- Using in extreme temps. Freezing weather can crack glass liners—bring it inside.
I recall a picnic where I forgot to preheat; the soup was tepid by lunch. Total bummer. Anyway, learn from my slips.
Why Choose WeiLai as Your Air Pump Pot Supplier

If you’re shopping for a reliable air pump pot, let me point you to Zhejiang WeiLai Daily Necessities Co., Ltd. Based in Yiwu, they’ve been cranking out these since 1996—over 28 years now. They’re pros in the cups and flasks game, with brands like Sunlife. What sets them apart? Their pots use stainless steel bodies with white glass refills, holding heat for 24-36 hours. They pump out at least two containers a day, so delivery’s quick. Plus, they offer customization—colors via Pantone, logos, even materials like PP or ABS. MOQ starts at 3600 for customs, but stock’s ready with no minimum. They’ve got over 100 patents and export to 100+ countries. If you’re wholesaling, their one-stop service skips agents, saving hassle. Solid choice for quality without the fluff.
Conclusion
Wrapping this up, using an air pump pot correctly boils down to prep, proper filling, and smart habits. Nail these, and you’ll enjoy maximum insulation that keeps your drinks just right. It’s not rocket science—just a bit of care. Give it a shot next time you’re brewing, and you’ll notice the difference. Stay warm out there!
FAQs
How do I use an air pump pot correctly to achieve maximum insulation?
Start by preheating with hot water for 5 minutes, fill with your hot drink to 90%, seal tightly, and pump 10-15 times. Avoid opening often to maintain the vacuum— this can keep heat for up to 36 hours.
What’s the best way to clean an air pump pot for better insulation?
Rinse immediately after use with warm water and a brush. For deep cleans, use baking soda. Proper cleaning prevents residue buildup, which can weaken seals and reduce maximum insulation over time.
Can I customize an air pump pot for maximum insulation in specific scenarios?
Yes, suppliers like WeiLai let you tweak capacities (e.g., 3.0L for longer holds) or materials. This helps tailor it for things like camping, where extra insulation matters most.
Why does my air pump pot lose insulation quickly, and how to fix it?
Common culprits: worn seals or no preheating. Check for leaks, replace parts if needed, and always preheat. Following how to use an air pump pot correctly boosts maximum insulation big time.
How long can I expect maximum insulation from a good air pump pot?
With correct use, 24-36 hours for hot drinks. Factors like room temp affect it, but pumping right and storing stable extends that.